●Apple menu
- ◆About SatToneEd
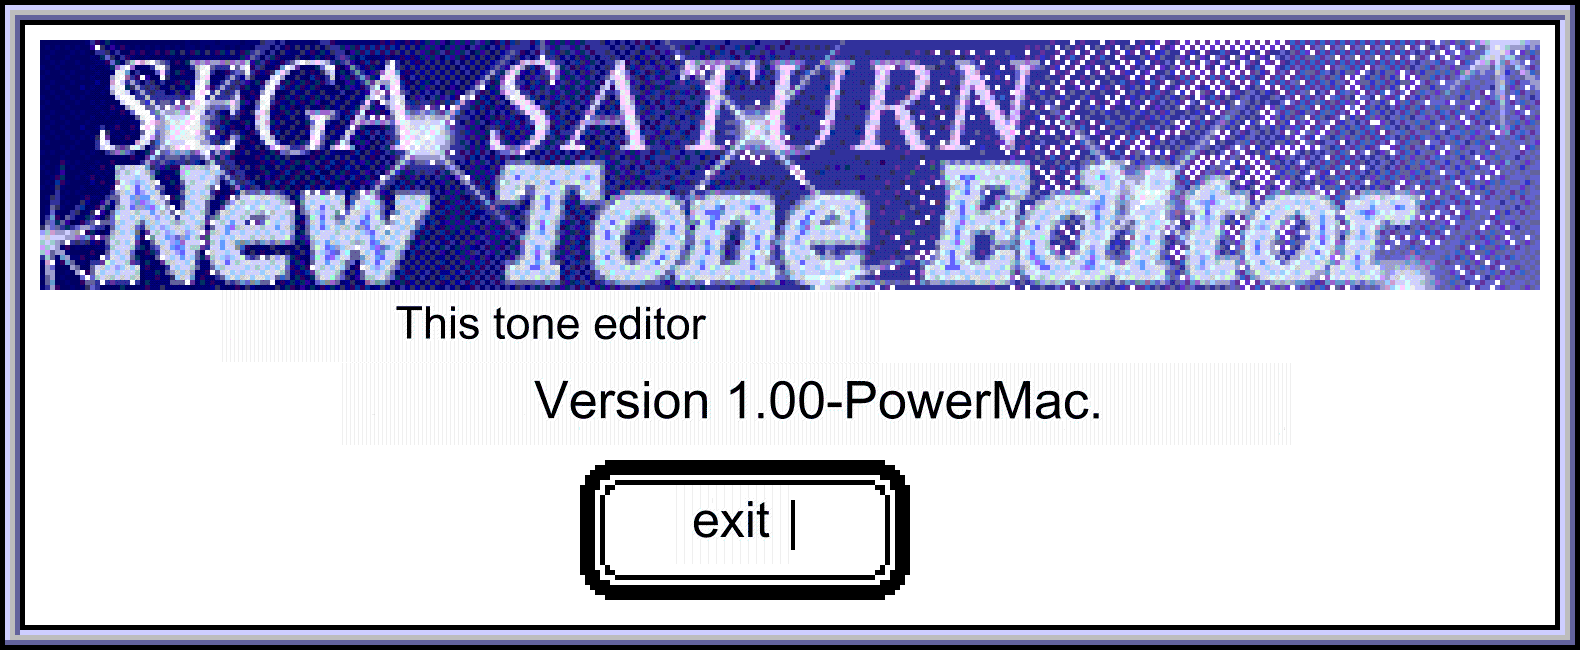
- The following dialog will be displayed. Currently only the version number and startup environment are displayed, but each piece of information is communicated to the user using this window.
●File menu
- ◆New project
- Deploy a new project. At this time, one voice and one layer are automatically generated.
- ◆Open project
- Open an existing project file. In addition to project files, you can also open bank files and YAMAHA ToneEditor bank files. All files other than the opened project file will be expanded as a project file with one bank.
- ◆Close
- Close project data. If there is a new project or changes to the data, a save dialog will open asking if you want to save.
- ◆Save
- Save the project file. If the project is not a new project, overwrite and save.
- ◆Save as another name
- Always display a save dialog and ask the user for a file name before saving.
- ◆Save the sent file
- Save the data to send to the target board. This transmission file automatically selects and saves only the necessary data from the data included in the project.
- ◆Export bank file
- Export the bank file. This function is used in conjunction with loading bank files, which will be described later, to exchange data between project files.
- ◆Load bank file
- Load bank file. Checks for shared waveforms, Mixer, Velocity, PEG, and PLFO when loading.
- ◆Text output of bank information
- Each data in the bank is organized into a tree structure and output in text format. This feature is not supported in version 0.99.
- ◆End
- Exit the application. If the project file is opened and changes have not been saved, the Save menu will be executed.
●Edit menu
- ◆Cancel
- Undoes the last edit menu item for voices and layers.
- ◆New
- Inserts a new voice or layer at the selected position (at the top if multiple selections are made).
The number inserted depends on the initial number set in the initial settings item.
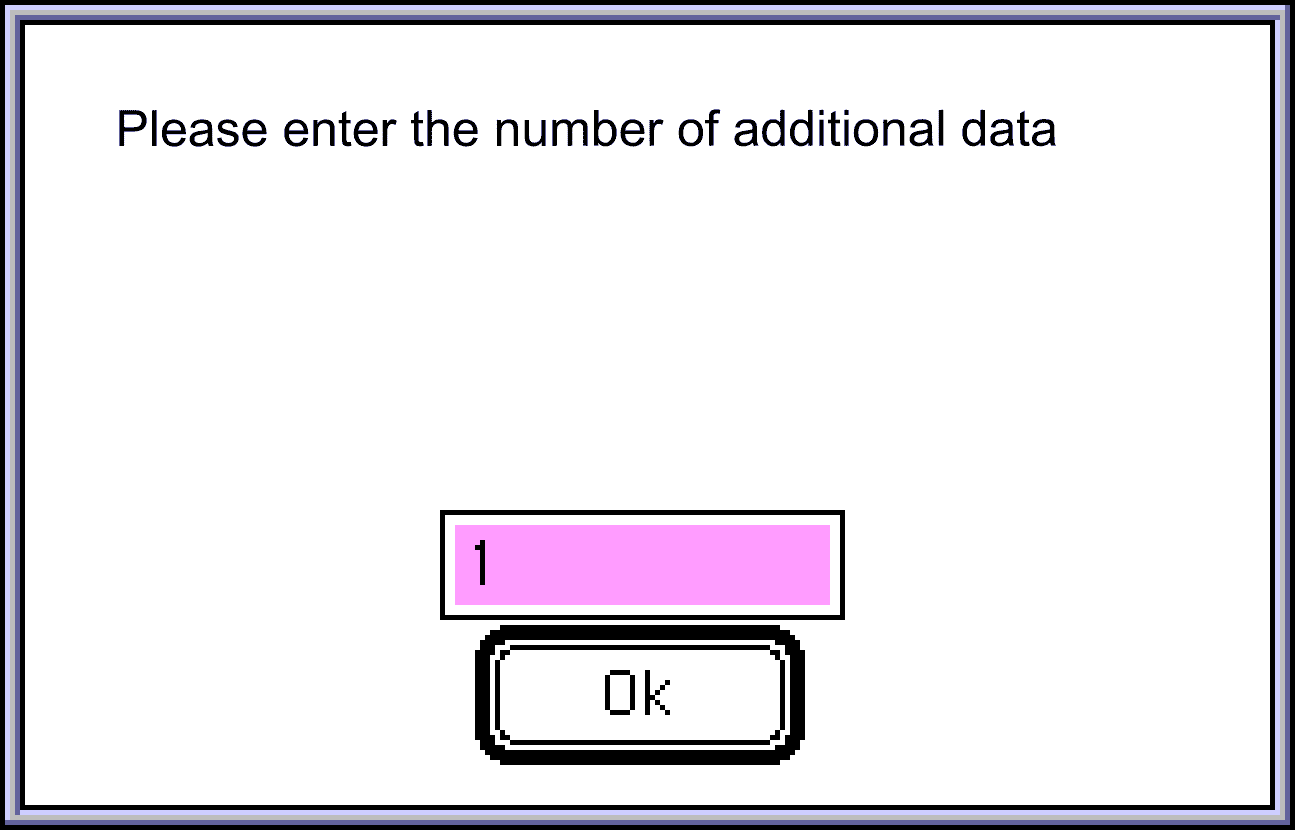
However, if the initial number is 0, the following dialog will appear asking for the number of additional data. The maximum number is 31.- If you select this menu while holding down the Shift key, the selected voice or layer range will be ignored and it will always be added at the end.
- ◆Delete
- Delete the selected data or data group. When you select this menu, the "Copy" menu is automatically executed.
- ◆Copy
- Copies the selected data or data group contents to the work. This menu cannot be canceled.
- ◆Pasting
- Paste the copied data into the selected area. If the selected data is less than the pasted data, new data will be added. If there are many selection areas, nothing will be done.
- ◆Insert
- Inserts data at the selected location. If multiple data are selected, the data will be inserted after the first selected data.
- ◆Erase data
- Initialize the selected data. Please note that if you use this menu for a voice, the contained layers will be initialized to one.
- ◆Add bank
- Create a new bank. This menu adds a new bank at the end regardless of the selected location. In addition, in the case of banks, special menus are prepared to prevent unnecessary accidents.
- ◆Deleting a bank
- Delete banks that are no longer needed. Waveforms that are no longer used are also deleted.
- ◆Changing bank name
- Rename the bank. The bank name becomes the default file name when saving bank files and sending files. Up to 31 half-width characters are accepted. However, up to 18 half-width characters and 9 full-width characters can be displayed in the window.
- ◆Waveform replacement
- Replace or delete the waveforms currently registered in the project. Please note that all layers containing the waveform being manipulated will be affected.
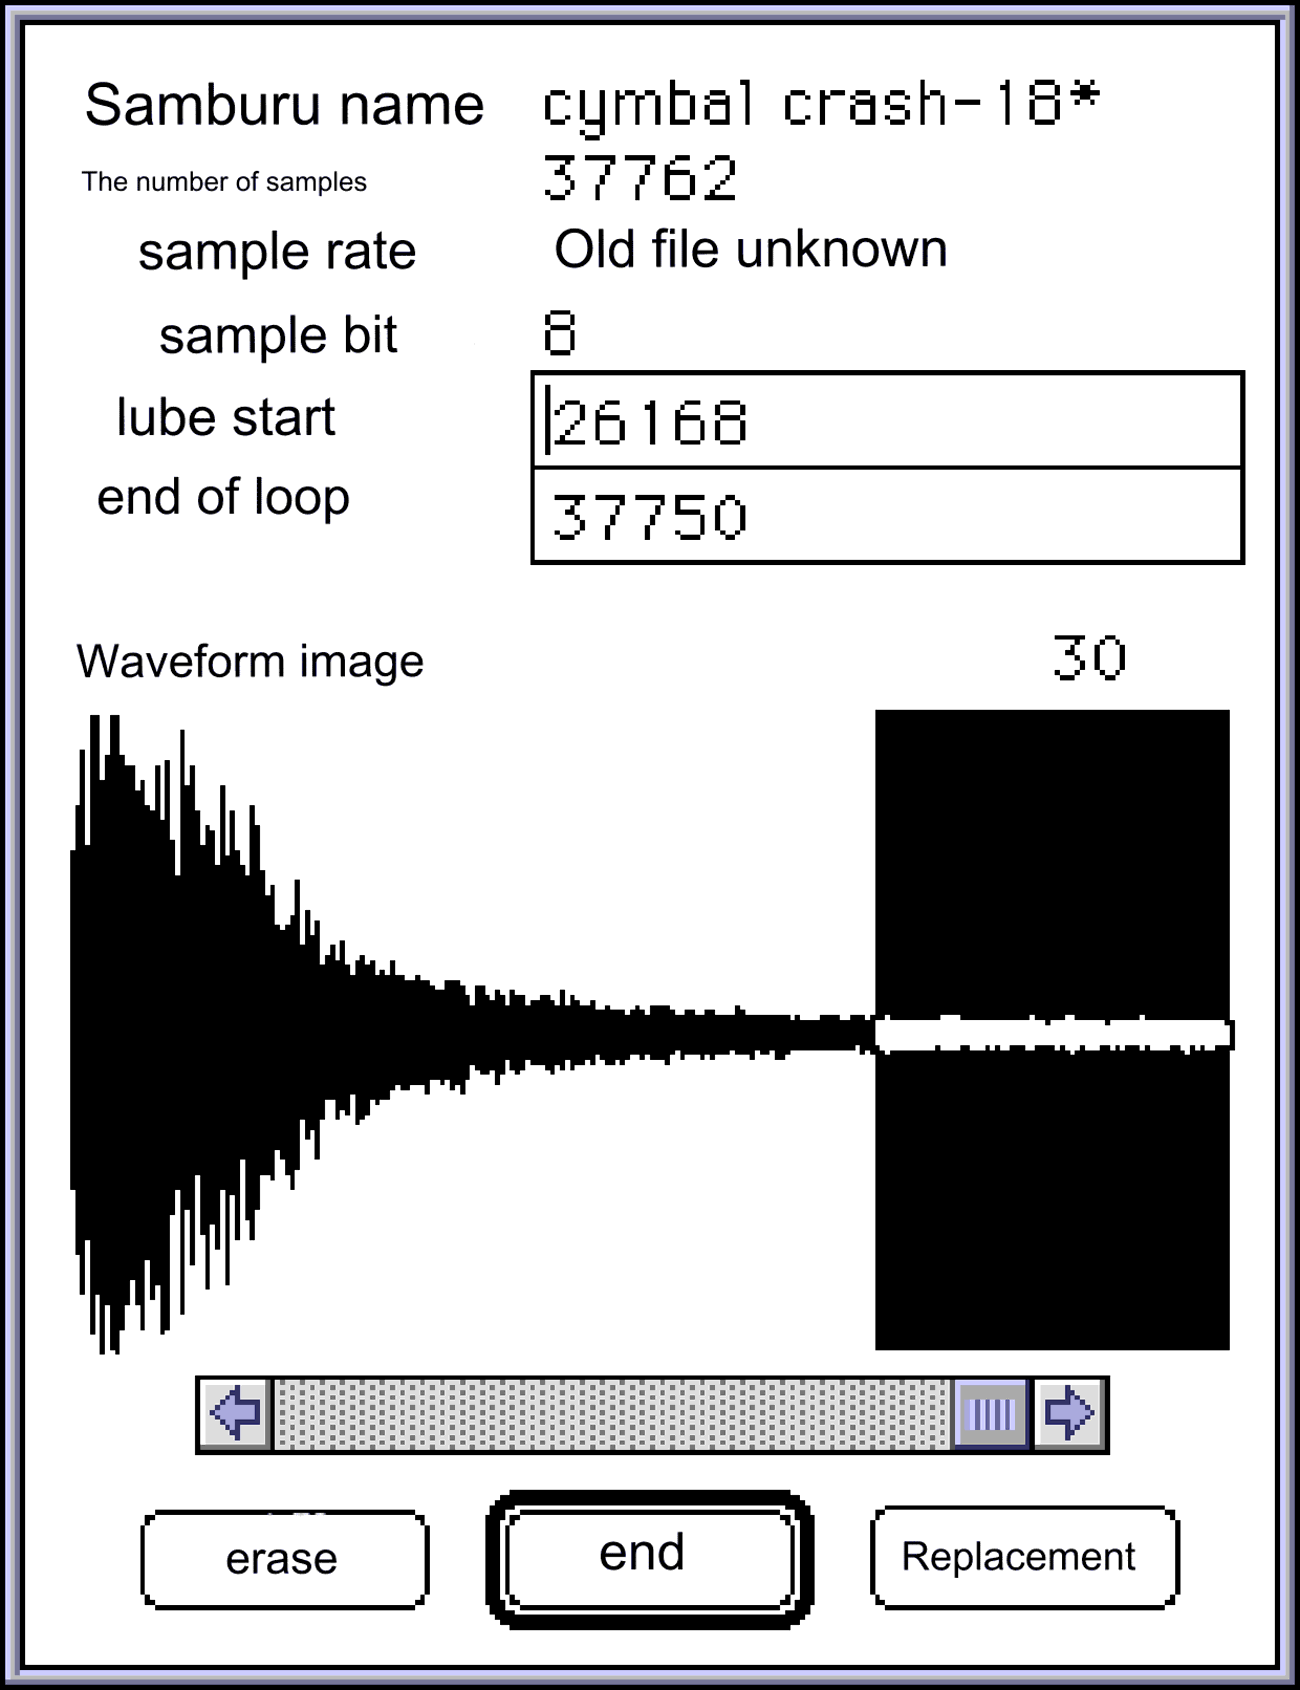
When you select this menu, the following dialog will be displayed.- < About each button>
- ◆Erase
- Erases the currently displayed waveform.
- ◆Replacement
- Replaces the currently displayed waveform with another one. All layers with shared waveforms will be replaced with new waveforms.
- ◆End
- Close the dialog. Save any changes to the loop.
- ◆Scroll bar
- Select the waveform to be manipulated. If you make changes to the loop, save your changes and select a different waveform.
- ◆Loop start, loop end
- Change the loop point. It will be registered by pressing the end button or using the scroll bar.
●Settings menu
- ◆Mixer menu
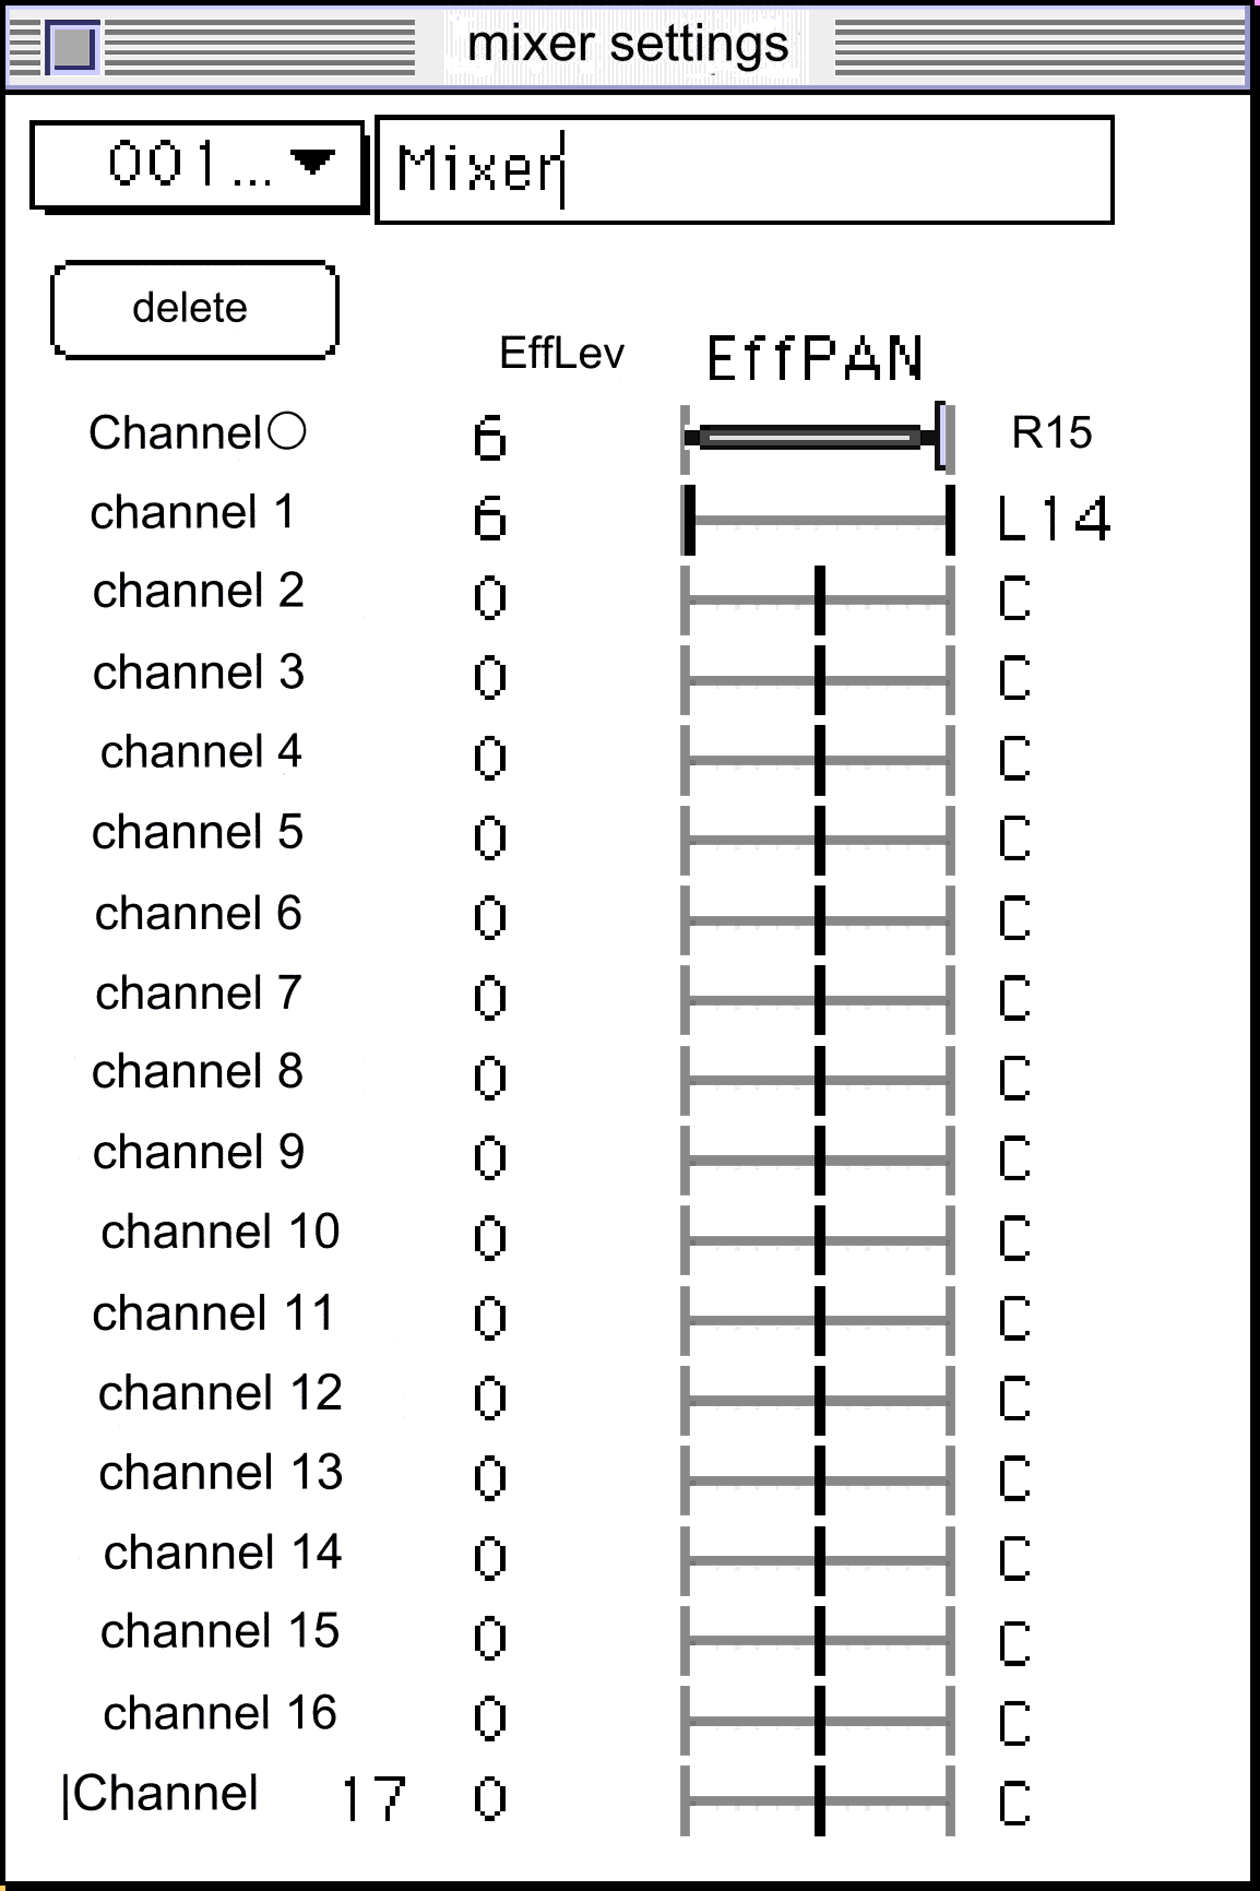
- Selecting this menu will display the mixer settings dialog.
- ◆EffLev
- Set the effect level. Click on the number of the channel you want to set, and the edit text will be displayed, so enter the setting value.
- ◆EffPAN
- Set the effect pan. If you click on the text part of the level image of the channel you want to set, a setting slider will appear, so please set it using that.
- < About each button>
- Number popup (top left popup menu) Change the mixer table being edited or build a new mixer table.
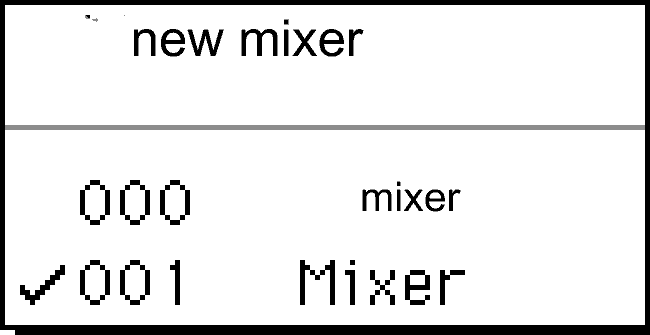
Clicking this pop-up menu will display the following menu.- The mixer table being edited will be checked.
- < About each button>
- ◆Delete button
- Delete the mixer table being edited. The last mixer table cannot be deleted.
- ◆Edit text
- Change the name. The changed name will be reflected in the number pop-up menu.
- ◆Velocity menu
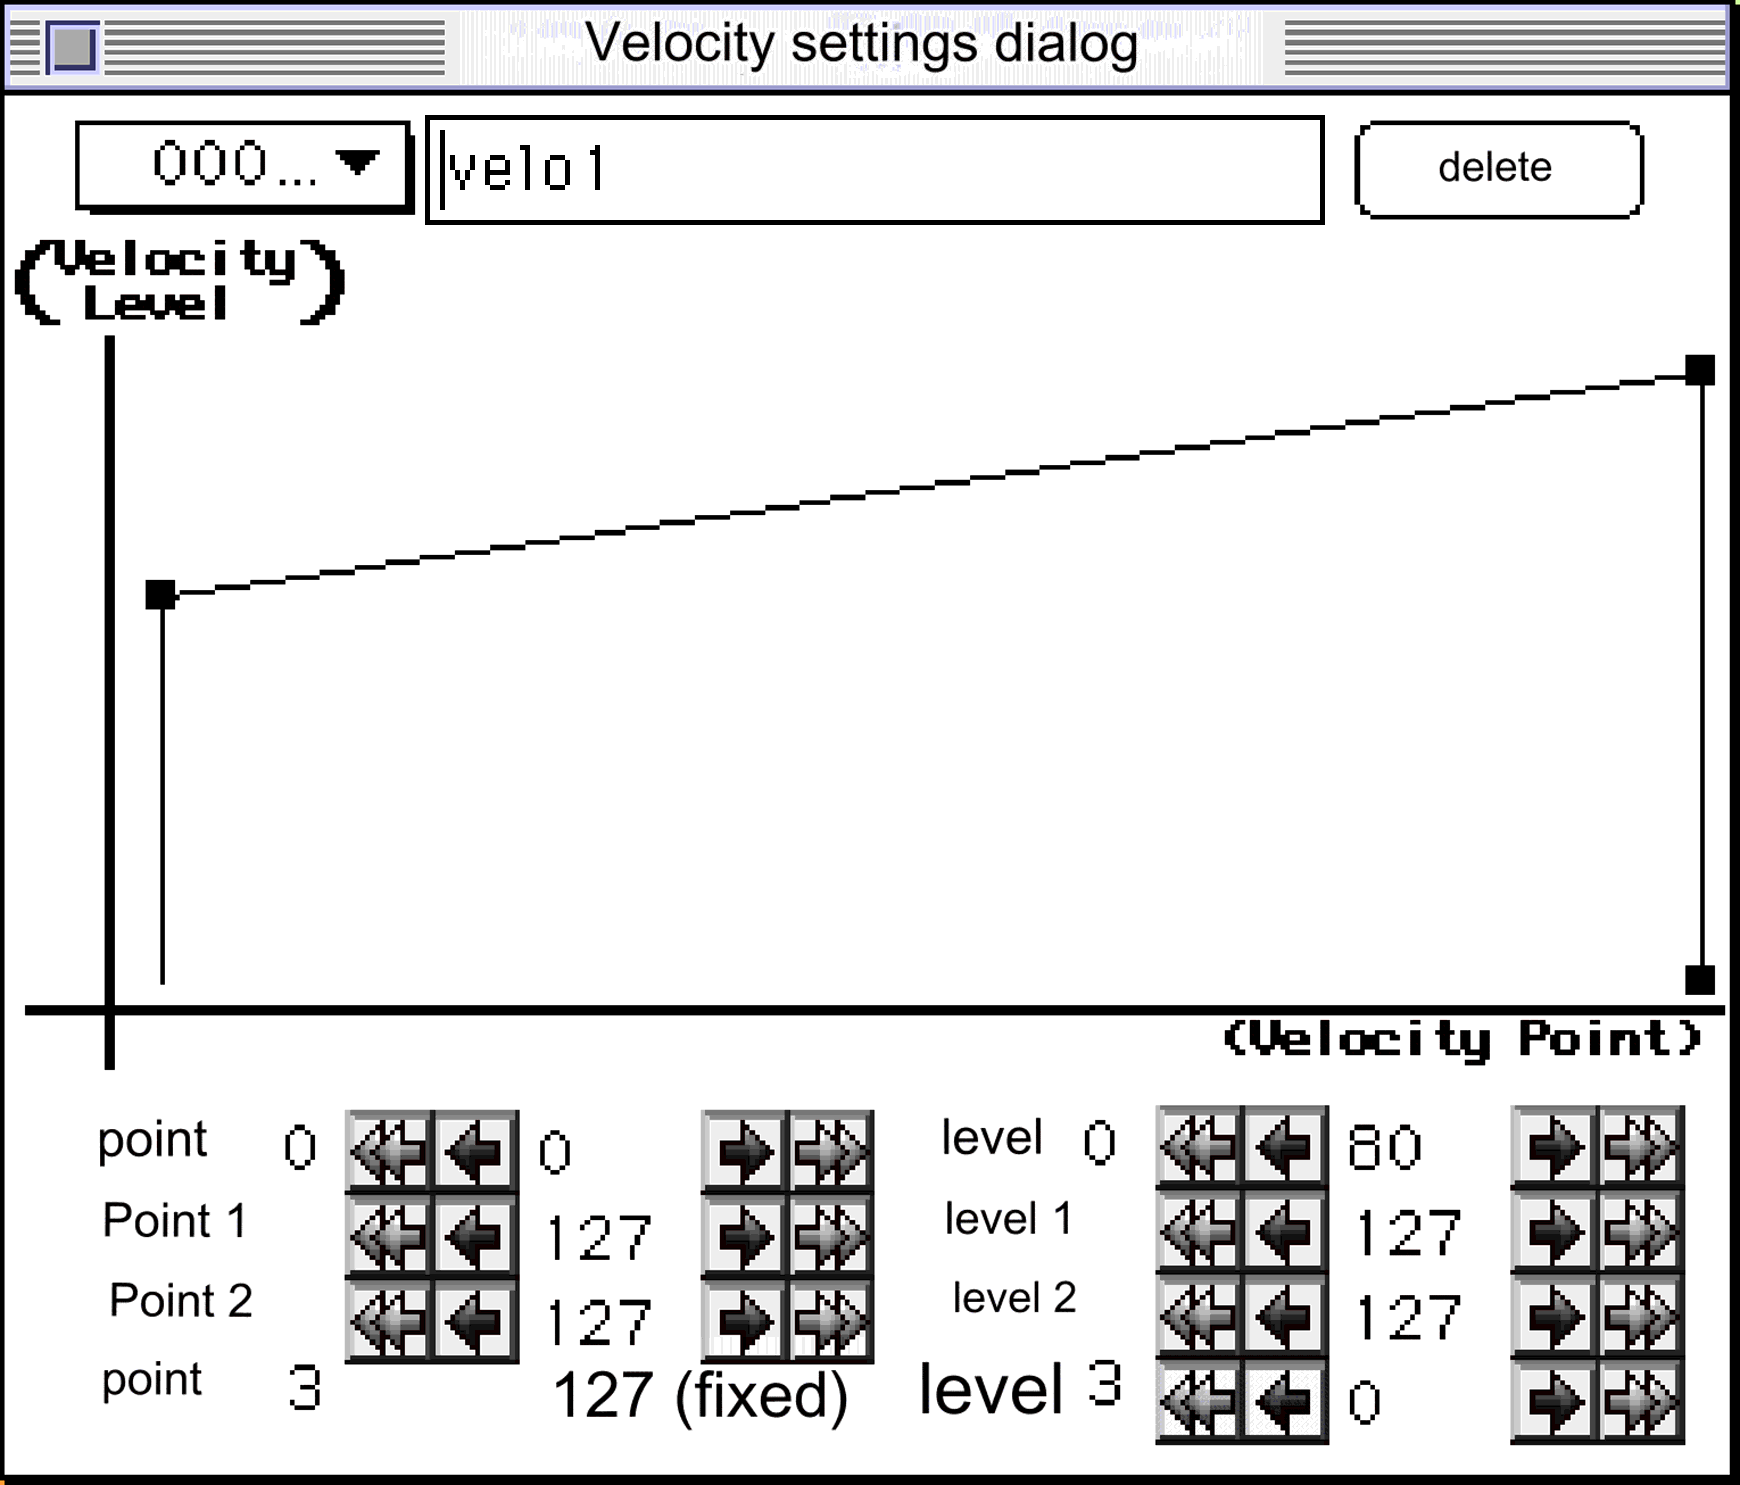
- Selecting this menu will display the Velocity settings dialog below.
- About each point and level
- Velocity can be set at four points in total with varying levels. (However, the level of point 3 can be changed, but the position is fixed at 1 27.) The settings for each point and level are
(increase)
Click the (decrease) button or the numerical text to display the edit text, from which you can input and set serial numerical values. Regarding points
- Point 0< Point 1< Point 2
- There are restrictions on size.
Regarding the level, any point can be set arbitrarily from 0 to 127. You can also manipulate each velocity point by dragging the ■ part in the graph.- < About each button>
- The other buttons are exactly the same as those explained in the Mixer section.
- important point
- Velocity, PEG, and PLFO settings explained below are referenced by each layer.
If you delete a layer, each reference number of the layer will not change, so the assignment data of layers assigned numbers after the deleted number will be shifted. (If the last number has been assigned, it will be unset.) Users should be aware of this when pressing the delete button.
A warning alert will be displayed when deleting.
●PEG menu
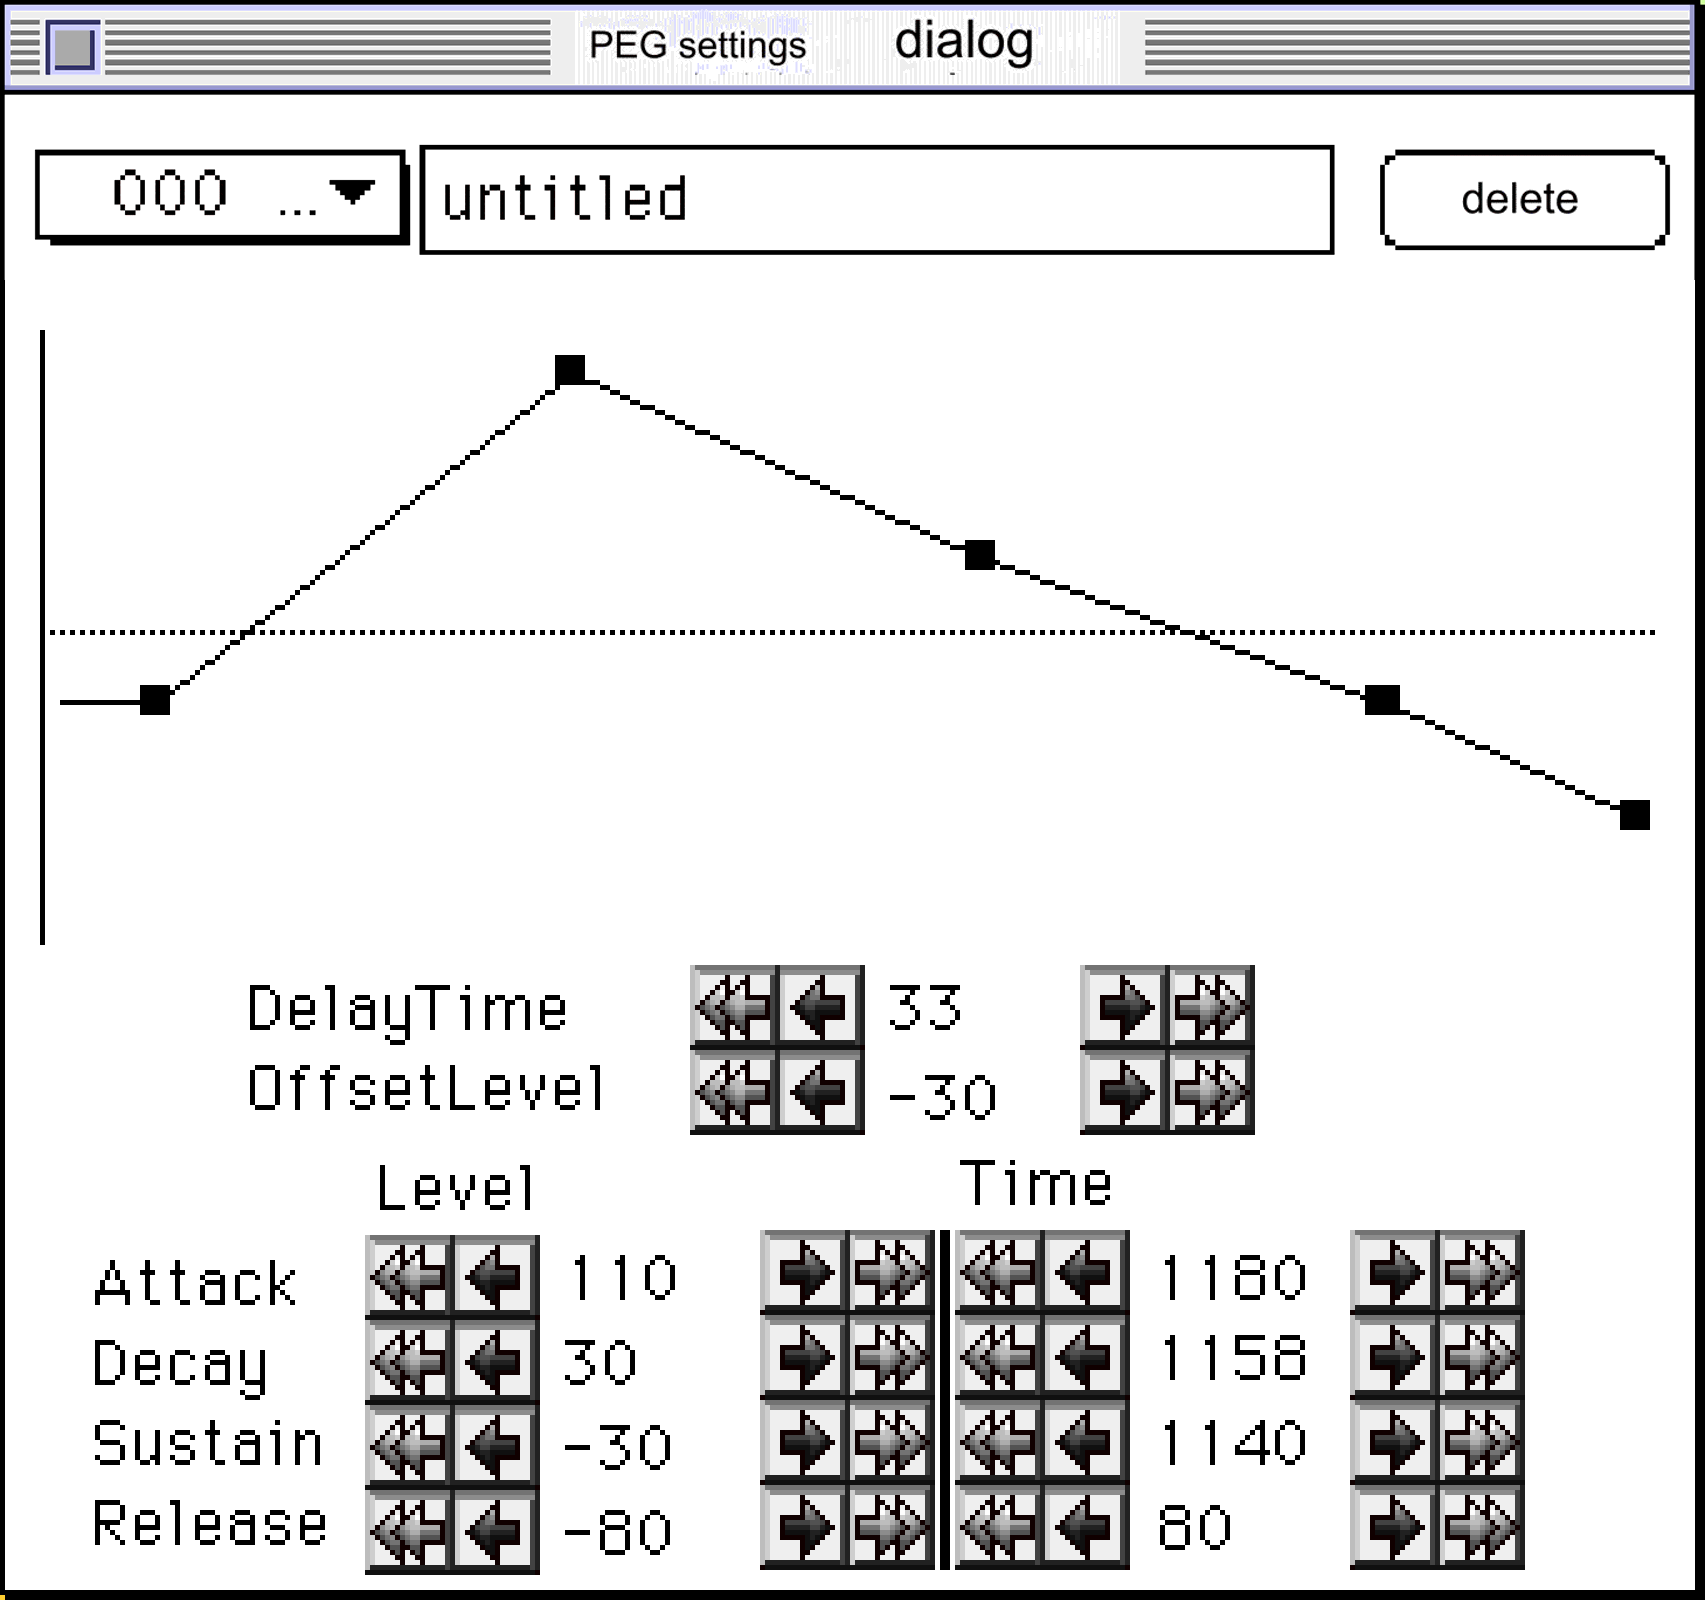
The graph is calculated by dividing the set total time by the number of dots from the start to the release start point, and determining each point from the time per dot. Therefore, when you move one parameter, other points move or the rate of increase is not proportional, resulting in visual inconsistencies, but this is not a bug.
The method of using the button is exactly the same as for velocity, so I will omit it.
●PLFO menu
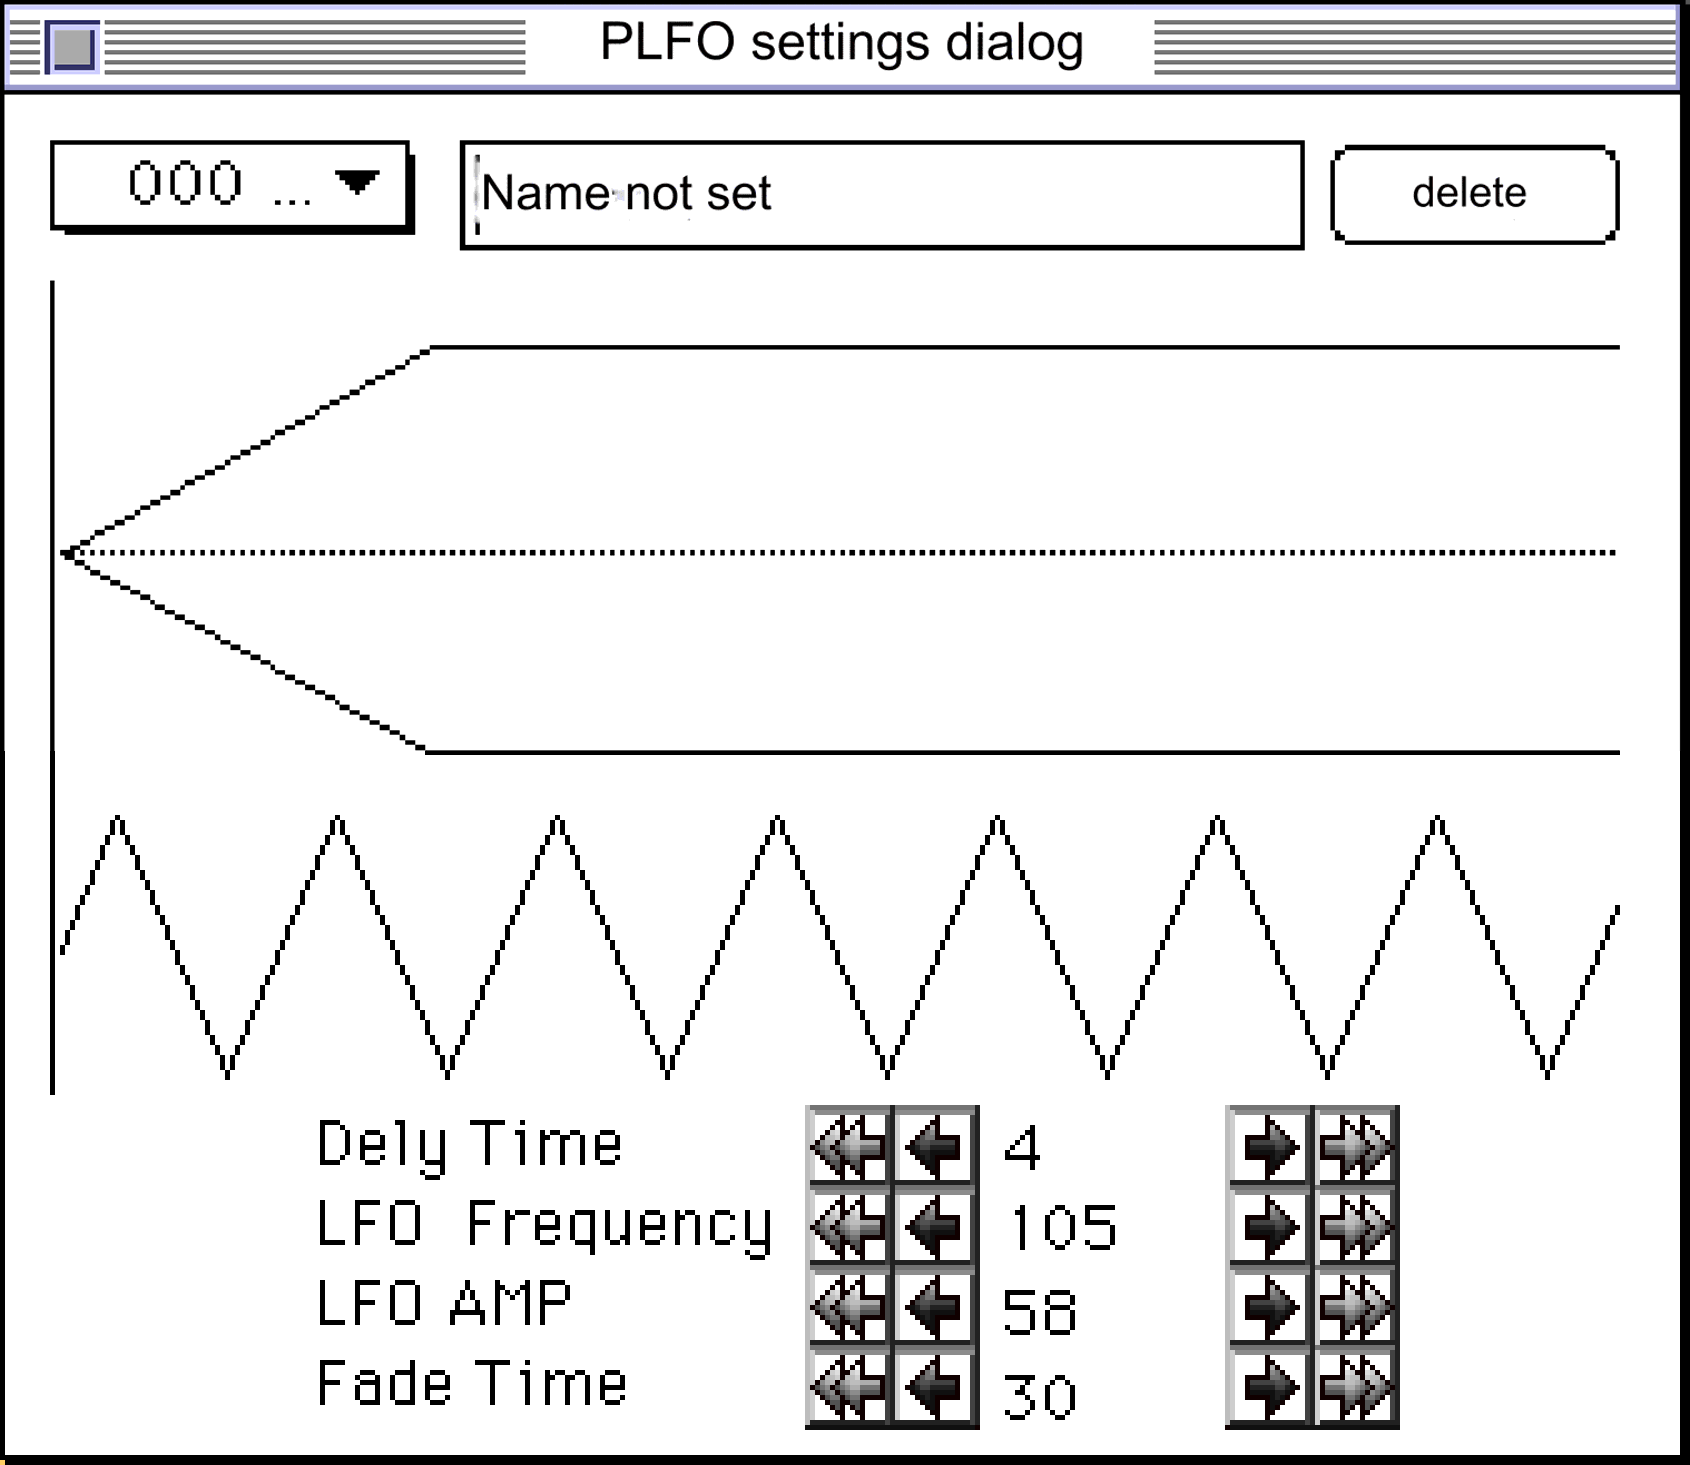
The method of using the button is exactly the same as velocity, so I will omit it.
- ◆Master Volume
- Sends a master volume direct command.
It has no effect on the tone editor data.
●Function menu
- ◆Target check
- It detects the target board on the SCSI chain and obtains bank information if the driver is running on the target board.
When you execute this menu, the following two dialogs will be displayed depending on the target status.
- If the target board is not connected
If you press the execution button, communication with the target board will be severed. You cannot test pronunciation, but you can edit the data.
If you press the abort button, the application will be terminated.- When the target board is connected and the driver is running.
Communication with the target board is not possible until this message is displayed.
In addition, if the target board is connected but the bank cannot be selected correctly,
"The driver may not have been started."
An error will be displayed. The work itself is not interrupted.
Please be sure to run this menu if you change bank information using tools such as SATURNSndSimF .
- If the target board is not connected
- ◆Updating data size
- Forces calculation of bank, voice, and layer window size items.
In the initial settings described later< “Update the size yourself”
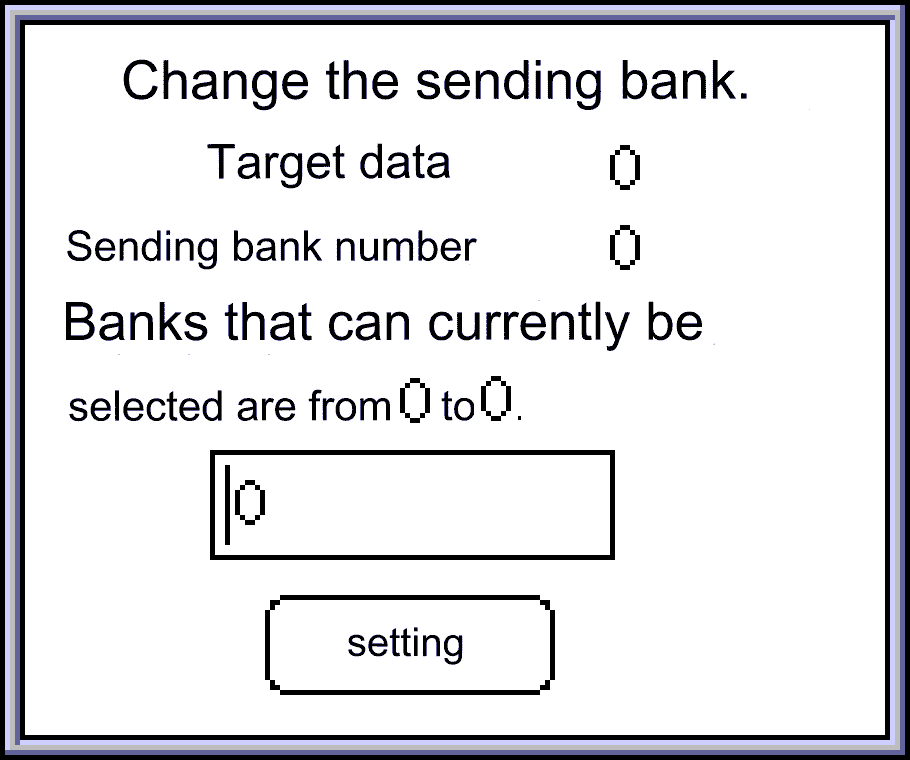
- ◆Sending bank settings
- Set the send bank on the target. This content will be displayed in the BankNo item of the project window.
target data
The number of the bank being changed.
Sending bank number
Currently set sending bank number.
Banks currently available for selection
Banks that can be sent according to the current bank settings on the target board.
Setting value
New settings.
Note
Depending on the previously saved bank settings, a higher number than the selectable bank may be assigned. This is not a bug. - ◆Send bank data.
- Sends all tone data of the specified bank to the bank on the set target.
- ◆Parameter automatic transmission setting
- If checked, only changed parameters will be sent in real time.
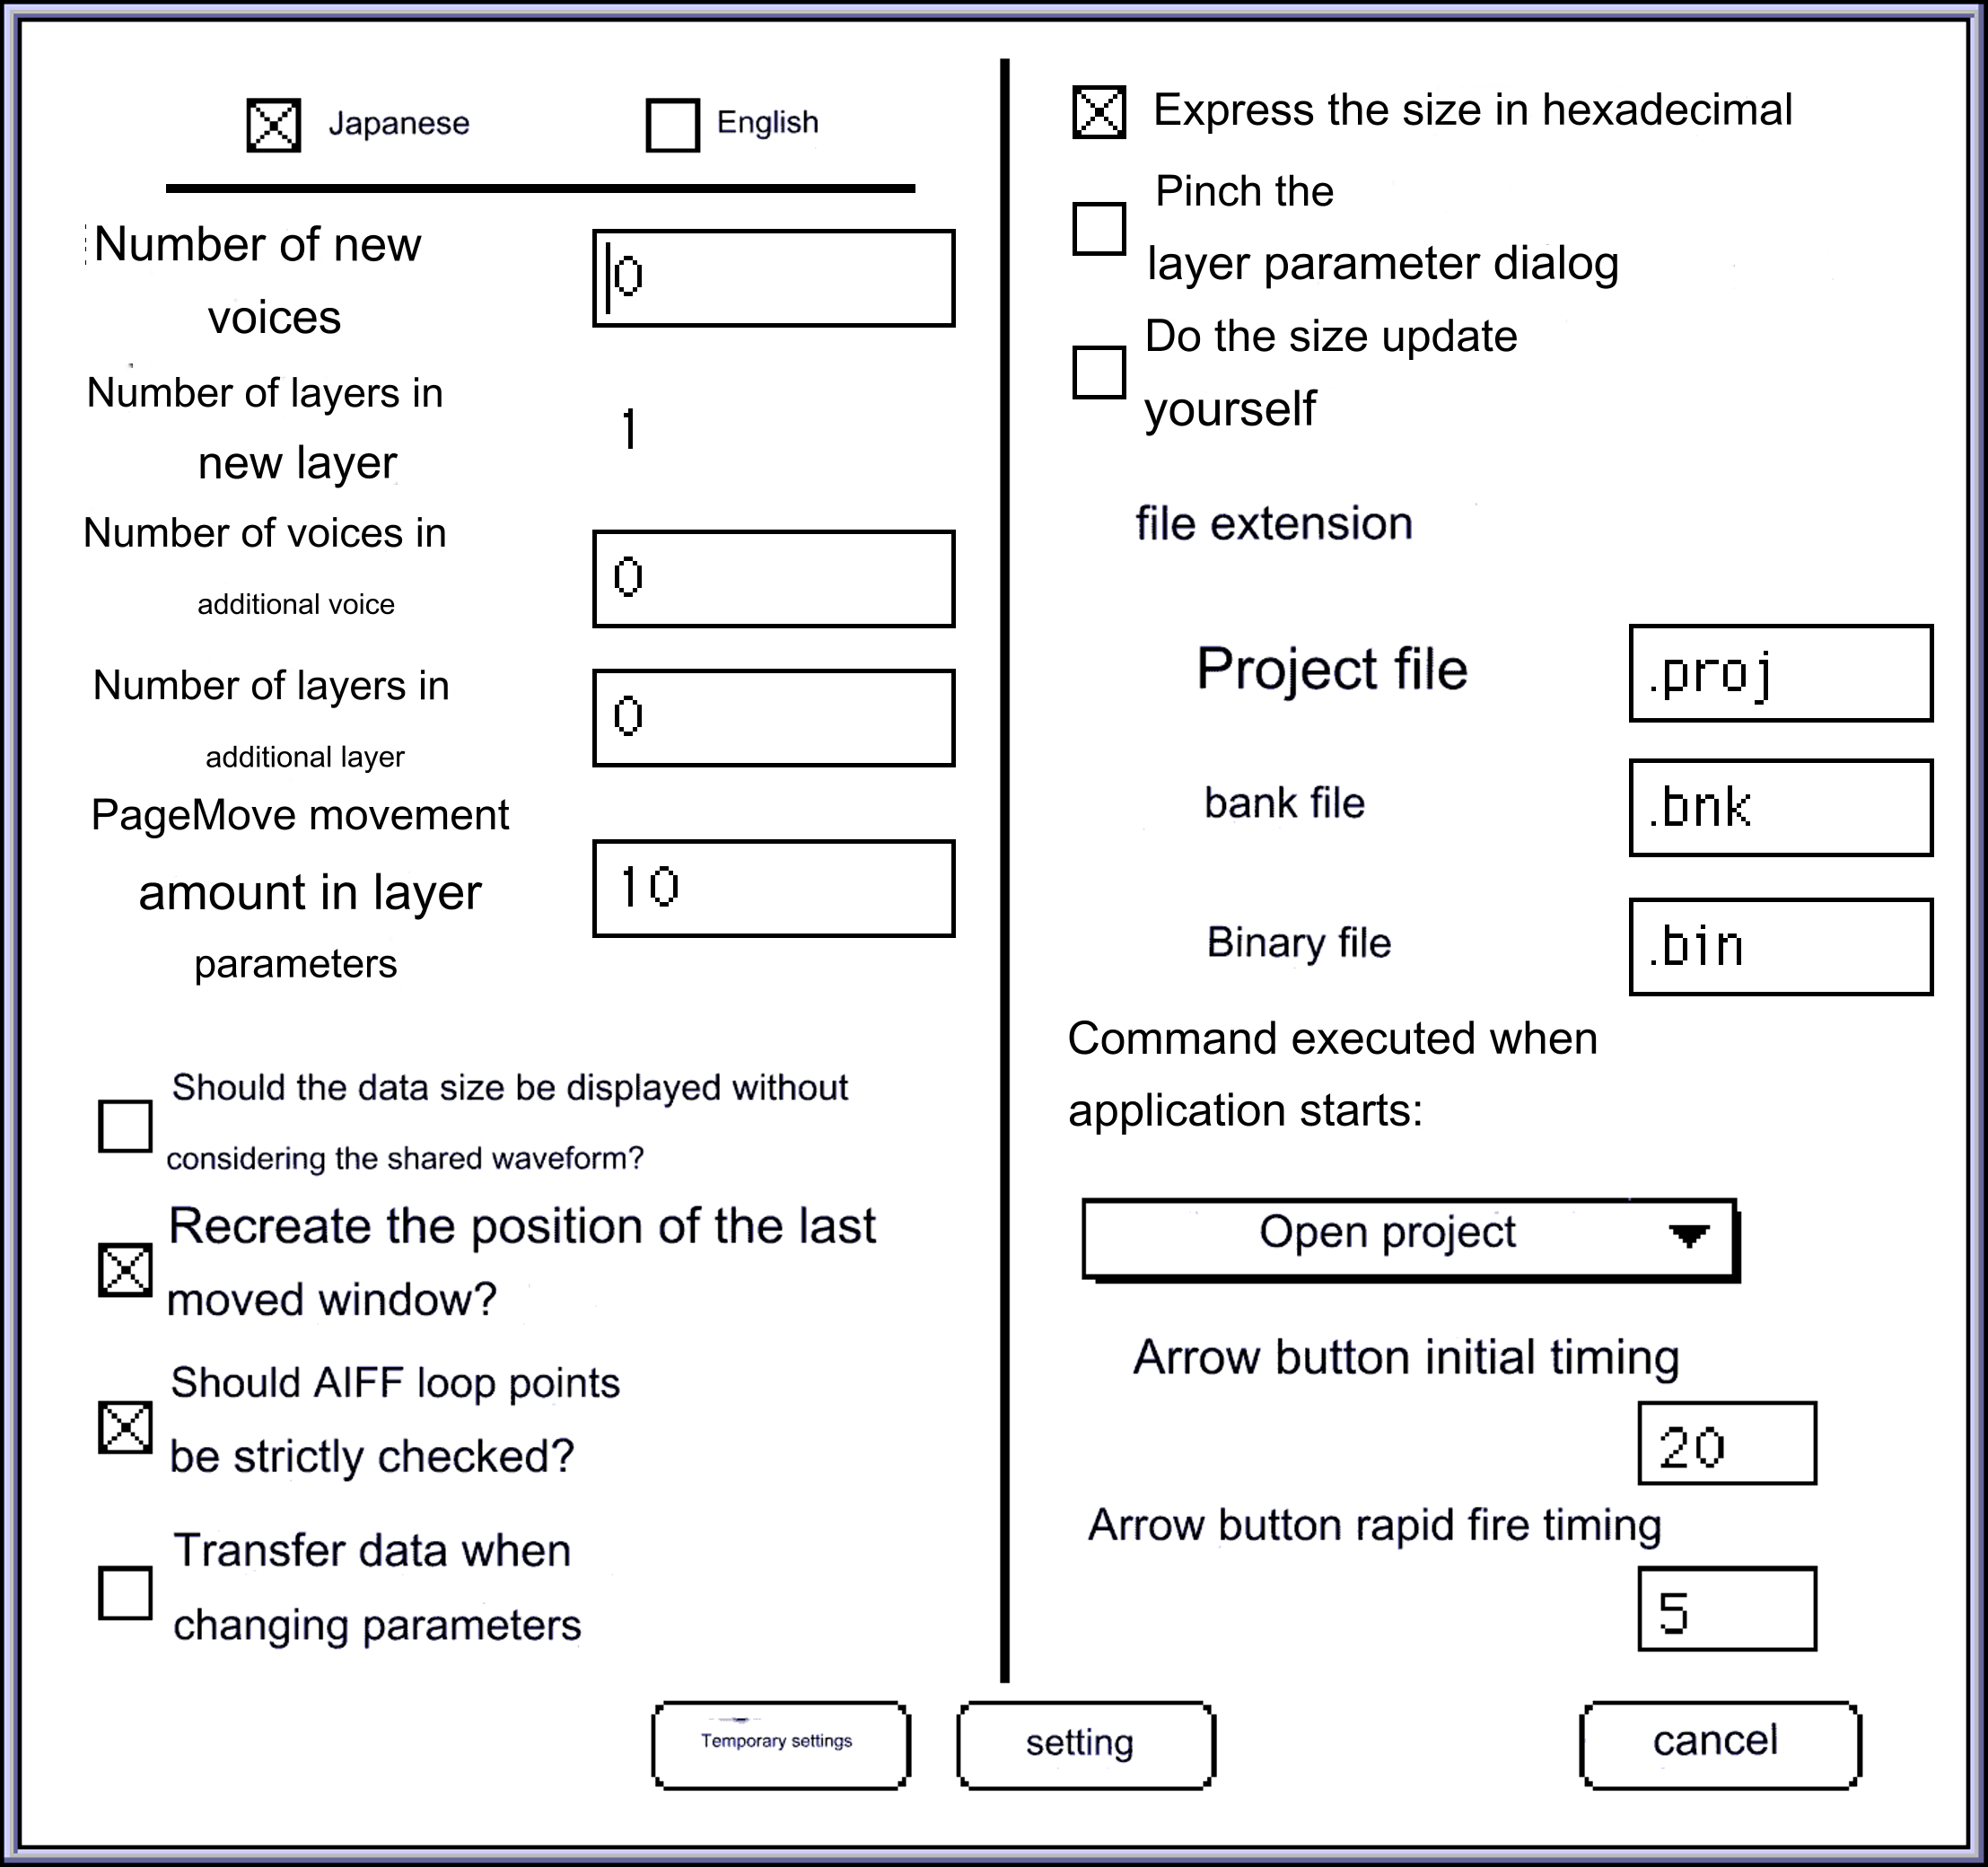
- ◆Initial settings
- Configure environment settings that can be changed.
- < About each item>
- ◆Japanese, English
- Set the display language. It will take effect from the next startup.
(In version 1.00, the English settings are incomplete and disabled.) - ◆Number of voices in new voice
- Sets the number of initial data when executing the "New" item on the edit menu in the project window or voice window.
If it is 0, we will ask the user for the number each time. - ◆Number of voices in additional voice
- Number of layers for additional layer Set the number of additional data when executing the "New" item in the edit menu in the voice window or layer window.
- ◆PageMove movement amount in layer parameters
- The slider rod part or
Large button movement Set the amount of movement for the button.
- ◆Is the data size to be displayed without considering the shared waveform?
- Displays the size of each pure data for each window size item.
The resulting output file will be significantly different from the displayed size.
This check cannot be checked at the same time as some settings. - ◆Do you want to reproduce the position of the last moved window?
- Saves the position of the window moved by the user as data. It behaves the same as a normal application. However, if you are working on a high-resolution monitor, windows placed on the edge may pop off the screen when you move them to a lower-resolution monitor.
If this happens, please remove this check. - ◆Do you strictly check the AIFF loop points?
- If you set loop points using multiple waveform editing tools, there may be rare cases where multiple sets of loop points are set. If this is checked, the loop point where the loop is first established when such data exists will be determined to be the correct loop.
If this is not checked and there are two or more sets of loop points, the loop information will be discarded and the entire waveform from the beginning to the end will be recognized as loop points.
- ◆Send data when changing parameters
- Only changed data is sent in real time when parameters are changed.
This check cannot be checked at the same time as some settings. - ◆Display the size in hexadecimal
- The size of each window is expressed in hexadecimal format in "0x~" format.
- ◆Pinch and display the layer parameter dialog
- Changes the layer parameter dialog to a slider-based GUI.
- ◆Update the size yourself
- Manually update (recalculate) the size items of each window.
Recalculating size items requires more CPU power as the total number of waveforms increases. There is no need to calculate the size if you are not sending anything. If the processing is too heavy, please check this item. It's dramatically faster.This check cannot be checked at the same time as some settings.
- ◆File extension
- Set the output file extension. The number of characters is up to 15 including . (period). When it comes to file names, the extension has the highest priority. In other words, if the extension is set to 15 characters, the name can be up to 16 characters. Beyond that, the last character of the name will be cut off one character at a time.
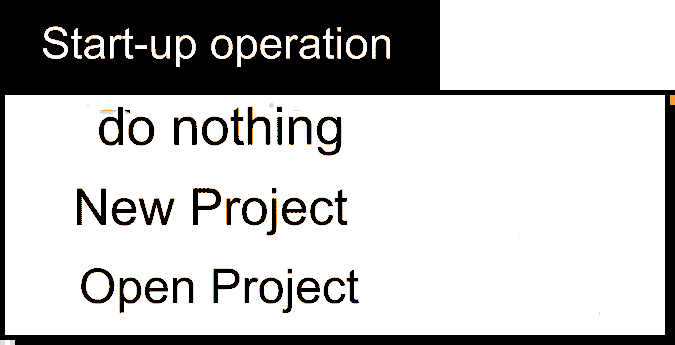
- ◆Execution command when starting the application
- Set the behavior when launching the tone editor by directly clicking it (required apple event "AppOpenEvwnt"). This menu consists of the following members:
- ◆Do nothing
- do nothing
- ◆New project
- Open a project that does not have anything registered yet. This is the same as calling the new project menu.
- ◆Open project
- Follow the steps to open the project. It will be the same as running the project open menu.
- ◆Arrow button initial timing
- ◆Arrow button rapid fire timing
Set the waiting timing for the first and second key presses.
Set in 1/60 seconds. Please note that the actual time may be slower due to processing.- < About each button>
- ◆Temporary settings
- Enables the settings and exits the initial setup without saving it to the initialization file. However, the language setting is disabled.
- ◆Settings
- Write to the initial settings file and finish the initial settings.
- ◆Cancel
- Disables the changed settings and exits the initial setup.
 ★ SOUND Manual ★ Tone Editor User's Manual/

 (increase)
 Click the (decrease) button or the numerical text to display the edit text, from which you can input and set serial numerical values. Regarding points

