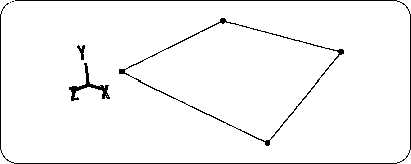
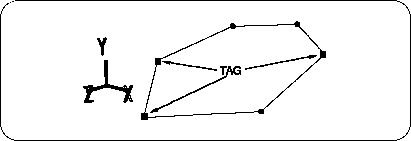
Figure 5-25 Completion of twisted polygon

Please remove TAG. (Enclose with "T" key + middle mouse button ).
Now we have a twisted polygon. Let's experiment here.
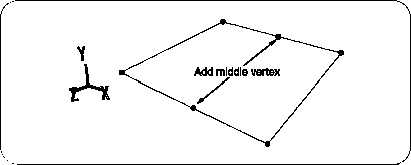
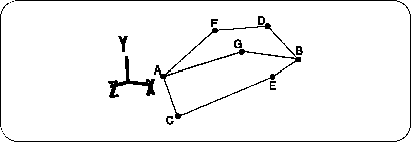
Replace point A and point B shown in the figure below (Figure 5-26) with
[Mesh] → [Edge] → Left mouse button
Tie with. (For future convenience, other remaining points are also marked.)
Figure 5-26 AB cannot be connected suddenly
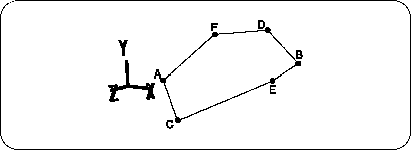
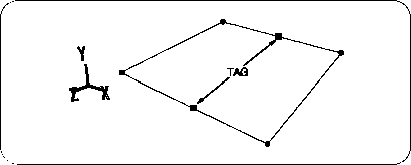
Probably not,
"Error : * Can not create an edge that intersects existing edges."
I think an error message was displayed.
But what if you really want to connect AB?
Proceed to Solution 1 and 2 below.
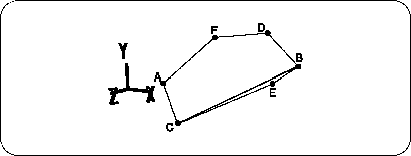
Solution # 1: How to cut with a triangle from the end
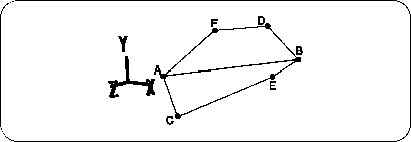
Connect the BCs shown in the figure below with edges (this polygon can be connected here) (Figure 5-27).
Figure 5-27 First connecting the BCs
Next, between the ABs that couldn't be connected,
[Mesh] → [Edge] → Left mouse button
And when you click on two points ... how! Can be tied
[Mesh] → [Edge] → Right mouse button
Please erase it.
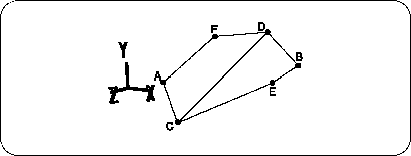
In this way, by creating a triangle that includes one target point (in this case, point A or point B), you can draw a line that could not be drawn until now.
If you can't get it done just by making one triangle, try making triangles from the edges.
If that doesn't work, try the next method.
Solution # 2: Start with two points that do not include the target point
First, connect two points that do not include the target point.
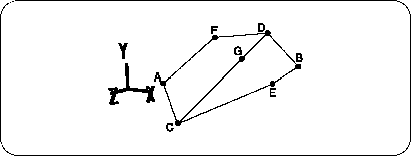
There are several possible combinations for this polygon, but this time we will connect the CDs (Figure 5-28).
Figure 5-28 Connecting CDs
Next, on the line segment CD,
[Mesh] → [Vertex] → Left mouse button (Add vertex)
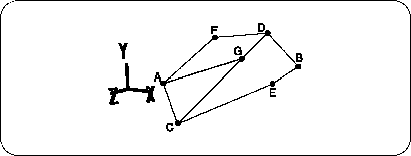
Then hit the appropriate points. This is point G (Figure 5-29).
Figure 5-29 Hit point G
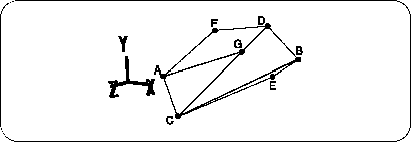
And connect AG.
Figure 5-30 Connecting AGs
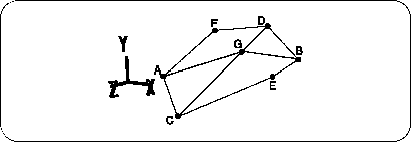
If you can connect GB here, it will be close to completion, but with this polygon you can not draw a line between GB.
Recall the method used in “Solution 1”.
For now, make a triangle. Here, BC can be connected (Figure 5-31).
Figure 5-31 BC is connected
This way! You will be able to draw a line between GB.
After connecting GB with a line, the line between BC is
[Mesh] → [Edge] → Right mouse button (Remove edge)
Delete with (Figure 5-32).
Figure 5-32 Connect GB and erase BC
Next, line segments CG and GD,
[Mesh] → [Edge] → Right mouse button (Remove edge)
Delete with (Figure 5-33).
Figure 5-33 Erase line segments CG and GD
Now, it ’s the final finish.
[Mesh] → [Vertex] → Mouse right button (Remove vertex)
Delete point G with (Fig. 5-34).
Figure 5-34 Erase point G
Try to challenge vertices that cannot be connected by these methods.